Posts tonen met het label crochet. Alle posts tonen

12-12-2016

Crochet Haken-2


Two pouches


One flat with a silk orange/pink lining


 One with extra space and a green lining and a green zipper.


12-11-2014

Crochet-Haken 3 Bags


After months of crocheting on the train, while visiting friends and family, even in waiting rooms and in cafes I now have such a huge amount of granny squares that I can easily choose the right color to make this big bag I wanted to make.
Because it requires little equipment I can do it basically everywhere.

Ik haak in de trein en in wachtkamers, bij familie en vrienden met een kopje koffie in een cafe echt overal. Het is ook zo makkelijk alles wat je nodig hebt zijn een paar draadjes of een bolletje en een haaknaald. Dit past altijd wel in mijn tas en een patroon heb ik na al die tijd niet meer nodig.


Because I have so many granny squares now, I decided to make a big bag out of them. 

Heb ik zo'n enorme hoeveelheid granny squares dat ik besloot een grote tas te maken.


I rearranged the colours until I liked the way it looked.


I sewed the granny squares together, on the wrong side with a woolen tread.
Then I finished the bag with two crocheted handles and green flannel lining and some handy pockets on the inside made with fabric from the town of Marken, where I have written about here and here.


07-05-2014

On my desk


 Busy working on the Challenge from Sara Lechner, the exchange A.T.C. with Maud and meanwhile making a new crochet bag.

Druk bezig met de Challenge van Sara Lechner, de Exchange A.T.C. met Maud en ik ben  een nieuwe gehaakte tas aan het maken..


Beautiful felted card from Maud. The back and the front are equally beautiful.
We are so lucky to be neighbors.


18-11-2013

Sjaal haken


Dit weekend een warme sjaal gehaakt van 2 bolletjes Drops Delight  ik heb deze sjaal gehaakt met haaknaald nr. 8 dit gaat echt heel snel.
Het patroon is  vrij eenvoudig en o.a. te vinden op lindevrouwsweb onder de foto's staat het patroon.
Ik heb het iets aangepast in de laatste twee rijen.
 Ik steek de draad in het linker gaatje en maak totaal 1 losse i.p.v. 2. 
En in de laatste rij, naald in het linker gaatje draad doorhalen,  omslaan door twee, omslaan door een.

06-12-2012

Crochet workshop


The results of a nice afternoon of crochet, tea with biscuits and some lovely ladies. I gave a little star crochet workshop the other day, and we had a great time (and the firsts snow). Would love to do this again!

01-12-2012

Star tutorial


I have been making crochet stars in this wintery weather, and I put the instructions up under 'Tutorials' on the right. It starts in Dutch, for English scroll to the bottom. Some stitches are explained when you click on them, and it sends you on to a separate page.

Ik heb sterren gehaakt in dit winterweer, en de instructies bij 'Tutorials' geplaatst aan de rechterkant van deze pagina. Daaronder staat een beschrijving van de picot steek, omdat ik die nergens goed uitgelegd kon vinden op het net. Op een paar andere steken kun je klikken, en dan kom je naar een pagina met uitleg.


14-11-2012

Tutorial Shepherd's Knitting


A while ago, a friend taught me how to do shepherd's knitting, also known by other names such as Bosnian crochet. I could not find much about this technique in books or online, so I made a tutorial with pictures and explanation. This technique is an easy way to make gloves, for example. I don't use instructions, but amend my work while I'm working on it to get the right size. 

Een tijdje geleden heb ik van een vriendin de schaapherderssteek geleerd, ook wel bekend als onder andere Bosnian crochet of shepherd's knitting. Omdat ik hier erg weinig over kon vinden in boeken en online, heb ik een tutorial gemaakt met uitleg. Deze steek is heel handig om bijvoorbeeld wanten te maken. Ik gebruik geen patroon, maar pas mijn werk aan terwijl ik bezig ben om de goeie maat te krijgen. 

24-10-2012

Crochet Trees


For my little cousin, I have  made some trees. It was great fun to make these, the tree itself is made of paper-mâché on an empty toilet roll and some acrylic paint to get the real appearance of a tree trunk.
The leaves of the tree are the crocheted part. I made these with one of my first self spun irregular jarns. They are very stiff and tight because I used a very small crochet needle, so that I don't even need to fill or stuff them.


                                                    He was playing with them for hours.

29-07-2012

Crochet flowers

Crochet in France! I used a very fine thread,
You will need hook number 1, plenty of free time and sunshine. I used a double thread and changed the colours for each flower four times
and this is the result:


04-07-2012

How to Crochet Edges


I have posted a new tutorial in the right hand column named crochet edging tutorial. Here I show and explain how I crochet beautiful rims on fabric.

Ik heb een nieuwe werkbeschrijving geplaatst rechts bij mijn tutorials
onder de naam crochet edging tutorialHierin laat ik zien en leg ik uit hoe ik mooie randjes haak aan lapjes stof.


27-05-2012

In the garden


I love to make granny squares from little leftovers and I store them in transparent boxes. 
This weekend I decided to put some off them together and make a new cover for my garden bench. 
It's so nice crocheting in the garden with this lovely weather.

12-05-2012

Crochet potholders


I love this wall covered in potholders. This great work is from Anu Tuominen, and it's called kirpputorpannulaput. The potholders all come from thrift shops and flea markets, but I love making these myself, too.

30-01-2012

Scarf design 1

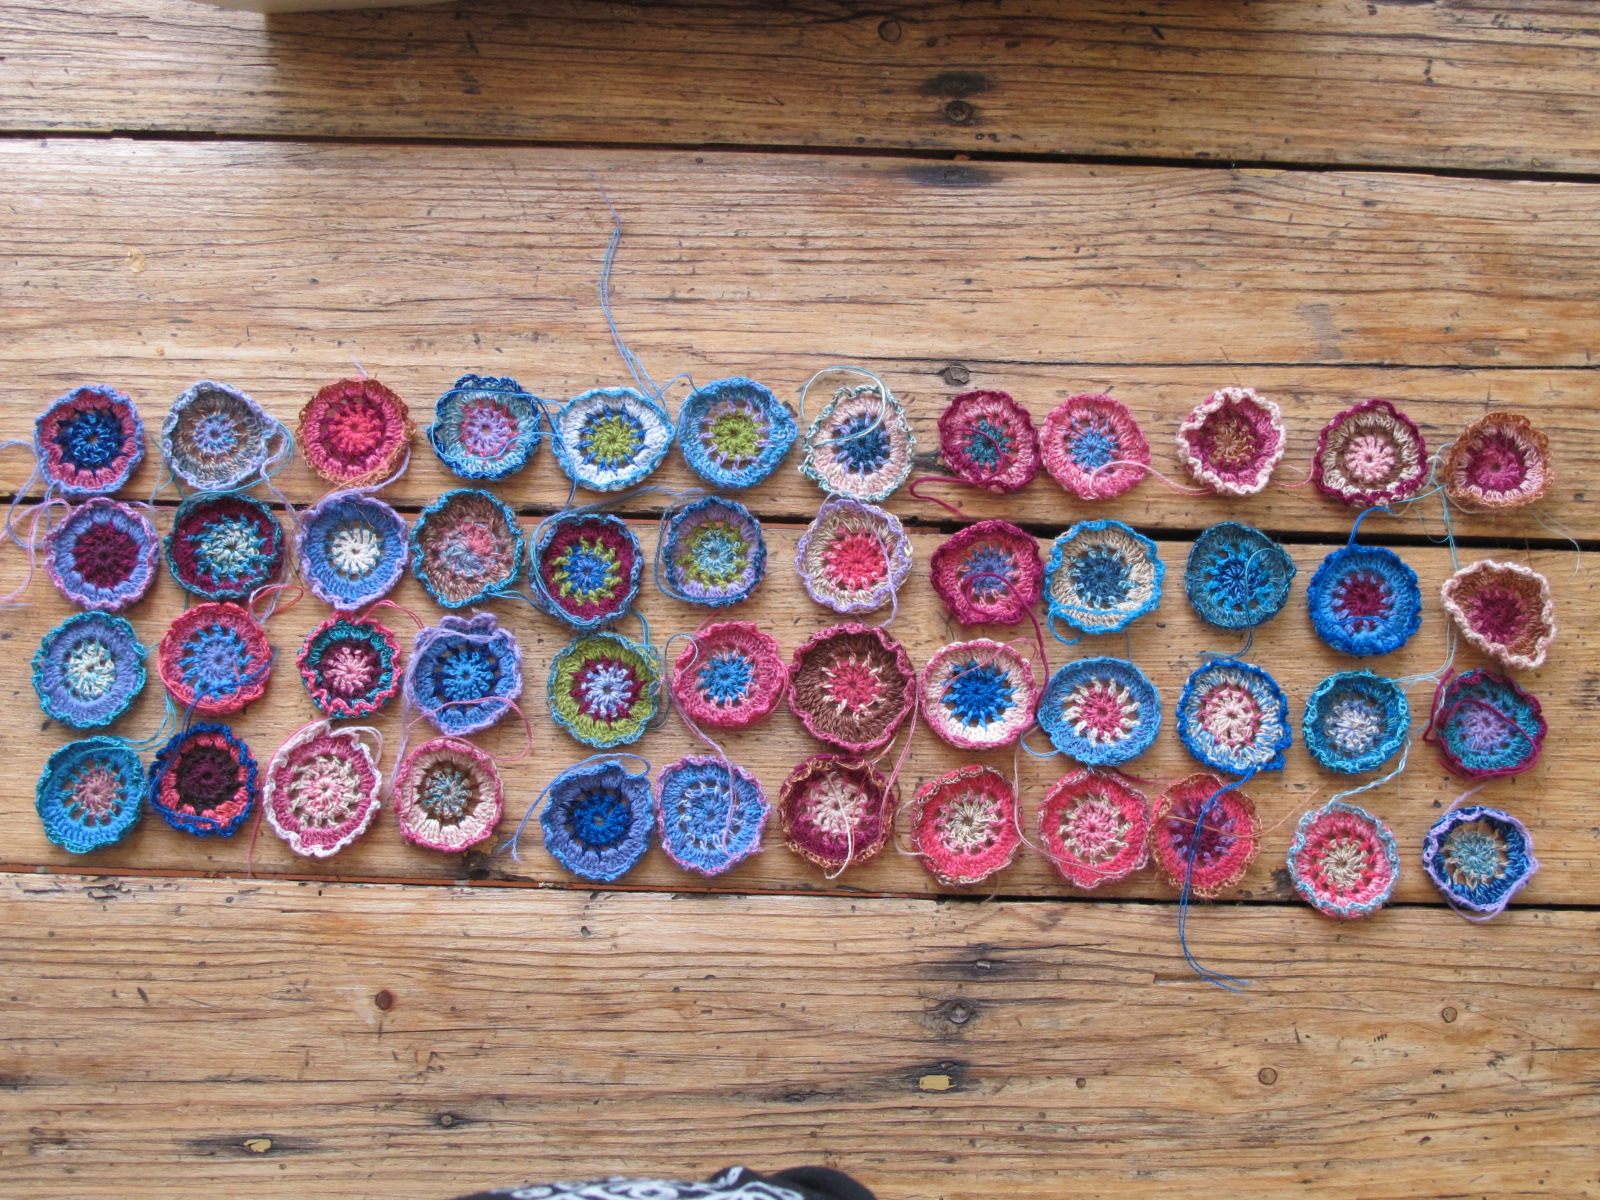
For the scarf I made I tried to make as many flowers in different colours as possible with 4 colours. 

Voor mijn sjaal wilde ik met vier kleuren wol zoveel mogelijke verschillende kleuren bloemen maken, waarbij elke bloem bestaat uit 3 kleuren.


For the pattern I chose a Japanese flower motive, but you could use any motive for this. You can find instructions in the tutorial for Japanese flowers in the right-hand column. 

 Als motief heb ik een Japanse bloem motief gekozen, maar dit kan natuurlijk met ieder motief. Je kunt een beschrijving vinden voor de Japanse bloemen in de tutorial in de rechterkolom.


I designed a sheet with several circles consisting of 3 circles each, so that I sould draw the three colours that I will need for the flowers. This comes to a total of 24 flowers, all different.


Op de computer heb ik een blad ontworpen met meerdere rondjes die ieder uit 3 cirkels bestaan, zodat ik hier de 3 kleuren in kan tekenen die ik nodig heb voor het Japanse bloem patroon. Dit komt totaal op 24 verschillende bloemen, die allemaal verschillen.


Then I cut them out and moved them around to design the result that you want. 

Vervolgens heb ik ze uitgeknipt ik ze uit en nu kan je gaan schuiven met de rondjes tot het gewenste resultaat.